Are you ready to embark on a culinary adventure with one of the most luxurious desserts in the world? Crème Brûlée Recipe is not just any dessert—it’s an experience that marries the richness of a velvety custard with the satisfying crackle of caramelized sugar. In this article, you’ll discover why this timeless treat is adored across the globe, learn its fascinating history, and uncover the secrets to creating the perfect Crème Brûlée at home. Whether you’re a seasoned baker or trying your hand at a new dessert, you’re about to master a dish that will wow your friends and family.
“A perfect Crème Brûlée is more than just a dessert—it’s an experience that delights all your senses.”
By the end of this guide, you’ll be equipped with everything you need to create a restaurant-quality dessert that looks as impressive as it tastes. So, roll up your sleeves and get ready for a delicious journey!
Jump to:
What is Crème Brûlée?
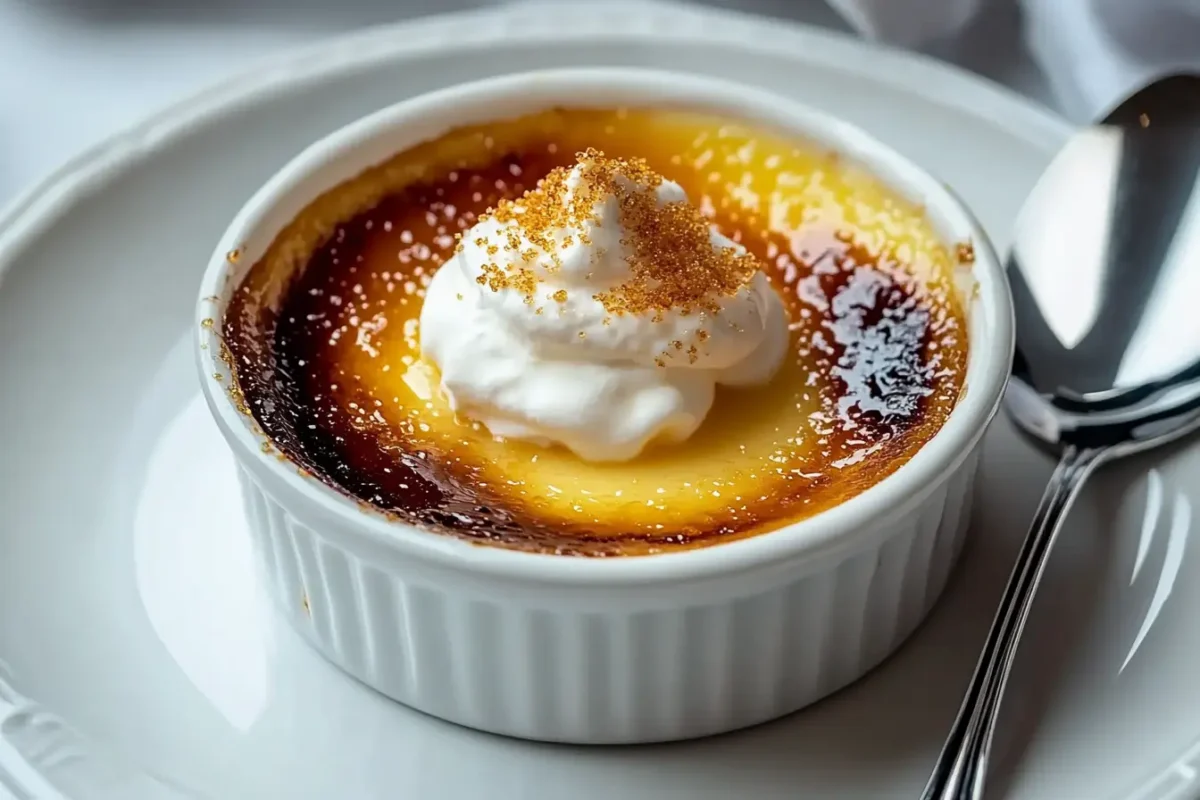
Crème Brûlée is a classic French dessert renowned for its luxurious texture and sophisticated flavor. At its heart, it features two main components:
- Custard Base: A rich, smooth, and creamy custard made from heavy cream, egg yolks, sugar, and real vanilla.
- Caramelized Sugar Crust: A thin, crackling layer of caramelized sugar that provides a delightful contrast to the custard’s silky texture.
This dessert holds a special place in both everyday indulgence and celebratory feasts. It’s beloved for its simplicity yet refined taste, making it a popular choice for special occasions and a decadent treat for any time you need a touch of elegance. To discover why Crème Brûlée is so adored, read more on Why Is Crème Brûlée So Good? Discover the Secret Magic.

The Origins of Crème Brûlée
The origins of Crème Brûlée have been a subject of lively debate among food historians for years. Some argue that the dessert hails from French culinary tradition, while others suggest Spanish influences, particularly from the famous Crema Catalana. Over time, this delightful dessert evolved from ancient custard recipes into the modern-day version we know and love.
Interestingly, Crème Brûlée has become a staple in fine dining restaurants around the world. Its evolution from a simple custard to a sophisticated dessert is a testament to its enduring appeal. For a deeper dive into its historical roots, explore our articles on its origins and evolution.
Ingredients Needed for Crème Brûlée
The foundation of a stellar Crème Brûlée Recipe lies in its high-quality ingredients. Here’s what you’ll need:
Core Ingredients
- Heavy Cream: The base of the custard, providing a rich and creamy texture.
- Egg Yolks: Essential for creating a smooth and stable custard.
- Granulated Sugar: Used both in the custard and for caramelizing the top.
- Vanilla Extract or Vanilla Bean: Real vanilla is crucial—using a vanilla bean can elevate the flavor significantly.
Optional Variations
- Lavender: For a floral twist.
- Citrus Zest: Adds a refreshing burst of flavor.
- Coffee or Matcha: Perfect for those who enjoy a modern twist on a classic.
Pro Tips
- Quality Matters: Choose the best ingredients you can find. High-quality heavy cream and real vanilla will make all the difference.
- Vanilla Selection: Whenever possible, opt for a vanilla bean over extract to impart a deeper, more natural flavor.
Below is a helpful table summarizing the key ingredients and their typical quantities:
| Ingredient | Quantity |
|---|---|
| Heavy Cream | 2 cups |
| Egg Yolks | 5 |
| Granulated Sugar | 1/2 cup (plus extra for topping) |
| Vanilla Extract/Bean | 1 tsp or 1 whole bean |
This table serves as a quick reference guide to ensure you have everything on hand for your dessert adventure.
Step-by-Step Recipe: How to Make Crème Brûlée at Home
Creating the perfect Crème Brûlée at home might seem intimidating, but with our detailed guide, you’ll see it’s a manageable and rewarding process. Let’s dive into this Crème Brûlée Recipe step-by-step.
Preparation
- Preheat Your Oven: Begin by preheating your oven to 325°F (160°C). This step is crucial for ensuring even baking.
- Set Up a Water Bath: Arrange your ramekins in a deep baking dish. Fill the dish with hot water until it reaches about halfway up the sides of the ramekins. This water bath helps cook the custard gently and evenly.
Making the Custard
- Heat the Cream: In a saucepan, warm the heavy cream over medium heat. Be careful not to let it boil—just a gentle simmer will suffice.
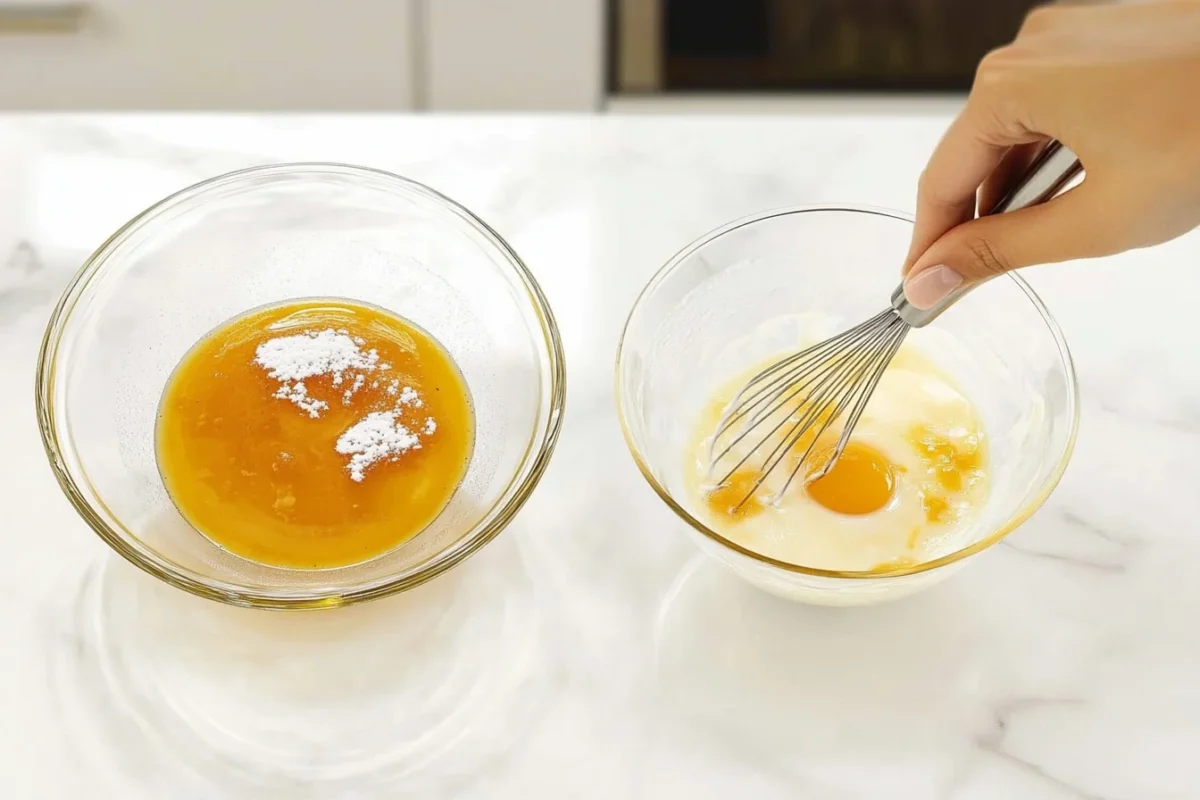
- Mix Egg Yolks and Sugar: In a bowl, whisk together the egg yolks and granulated sugar until the mixture becomes light and slightly pale. This process incorporates air, which contributes to a smooth custard.
- Infuse the Vanilla: If you’re using a vanilla bean, split it lengthwise and scrape out the seeds into the cream. Alternatively, stir in the vanilla extract after heating.

Baking the Custard
- Combine and Strain: Slowly pour the warm cream into the egg mixture, stirring constantly to prevent the eggs from cooking too quickly. Strain the mixture to remove any cooked egg bits.
- Fill the Ramekins: Divide the custard mixture evenly among the ramekins. Place them in the water bath.
- Bake: Place the baking dish in the preheated oven and bake for about 40-45 minutes. The custard should be set around the edges but still slightly jiggly in the center.
- Check for Doneness: A gentle shake should reveal a subtle tremor in the center—this is perfect!
Chilling
Once baked, remove the ramekins from the water bath and let them cool to room temperature. Then, refrigerate for at least 2 hours or overnight. Chilling allows the custard to firm up and intensify in flavor.
Creating the Sugar Crust
- Sprinkle the Sugar: Just before serving, sprinkle a thin, even layer of granulated sugar over each custard.
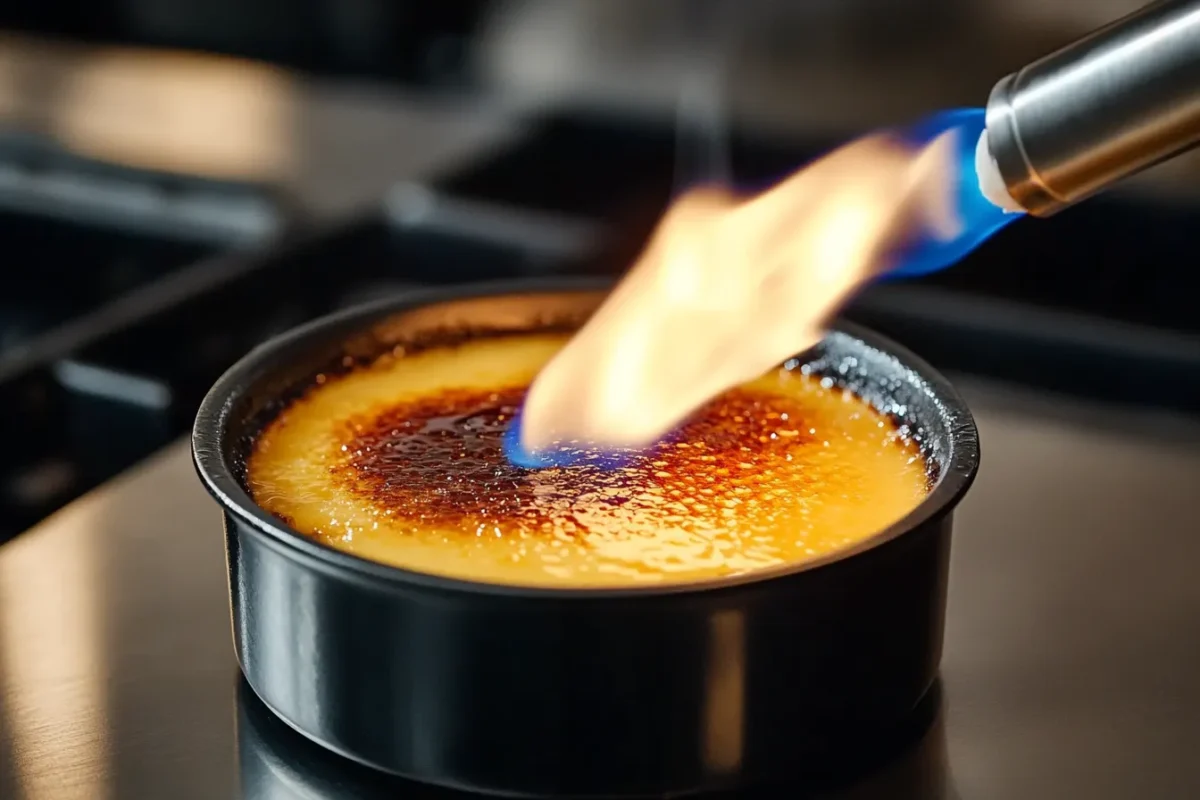
- Caramelize the Sugar: Using a kitchen torch, carefully melt the sugar until it forms a golden, crisp crust. If you don’t have a torch, you can place the ramekins under a broiler for a few minutes—just keep a close eye to avoid burning.
- Serve Immediately: Enjoy the satisfying crack as you tap through the caramelized top to reveal the creamy custard below.
Popular Variations of Crème Brûlée recipe
While the classic Crème Brûlée Recipe is sublime on its own, there are many creative variations you can try to suit your taste:
Flavor Twists
- Chocolate Crème Brûlée recipe: Incorporate melted high-quality dark chocolate into the custard for a decadent treat.
- Coffee Crème Brûlée recipe: Add a shot of espresso or a teaspoon of instant coffee for a rich, aromatic flavor.
- Matcha Green Tea Crème Brûlée recipe: Stir in matcha powder to create a vibrant, subtly earthy version.
Dietary Adjustments
- Dairy-Free Crème Brûlée: Substitute heavy cream with coconut or almond milk to create a luscious dairy-free alternative.
- Sugar-Free Versions: Use a sugar substitute that can caramelize for a healthier twist without compromising on taste.
Each variation offers a unique twist while keeping the integrity of the classic custard and caramelized top intact.
Common Problems and Solutions
Even seasoned chefs can face challenges when making Crème Brûlée recipe. Here are some common issues and practical solutions to help you troubleshoot:
Why is My Crème Brûlée Runny?
A runny custard is often due to underbaking or an imbalanced egg-to-cream ratio. Make sure to:
- Follow the recipe precisely.
- Allow the custard to bake just until the edges are set, with a slight wobble in the center.
How to Avoid Cracks in the Custard?
Cracks usually form due to rapid temperature changes. To prevent this:
- Use a water bath to ensure gentle and even heat distribution.
- Allow the custard to cool gradually at room temperature before refrigerating.
Uneven Sugar Crust
If your sugar crust isn’t uniformly caramelized, try these tips:
- Evenly sprinkle the sugar and tap the ramekin gently to level the sugar.
- Use a kitchen torch with steady, circular motions.
- If using a broiler, rotate the ramekins midway through to ensure even exposure.
“Patience and precision are the keys to overcoming common Crème Brûlée challenges.”
Following these guidelines will help you achieve a flawless dessert every time.
Crème Brûlée vs. Flan: What’s the Difference?
Although both Crème Brûlée and Flan are custard-based desserts, they differ significantly in texture, taste, and preparation.
Texture and Taste Comparison
- Crème Brûlée recipe: Features a crunchy, caramelized sugar top that contrasts with its smooth, creamy custard base.
- Flan: Typically has a softer, silky texture with a layer of soft caramel sauce on top rather than a hard crust.
Preparation Differences
- Crème Brûlée: Baked in a water bath, which helps achieve an even custard.
- Flan: Often steamed or baked with a caramel base that is inverted before serving.
For a more in-depth comparison, visit our post on What’s the Difference Between Crème Brûlée and Flan?.
Cultural Background
- Crème Brûlée: Traditionally French, celebrated for its elegant presentation.
- Flan: A dessert common in Latin American and Spanish cuisines, offering a different take on caramel custard.
Understanding these differences can help you decide which dessert best suits your palate and occasion.

Serving and Storing Tips
To make the most of your Crème Brûlée Recipe, consider these expert serving and storing tips:
Serving Suggestions
- Ideal Pairings: Serve your Crème Brûlée with fresh berries, a dollop of whipped cream, or a light dusting of cocoa powder for extra flair.
- Presentation Tips: For a restaurant-quality look, garnish with a sprig of mint or a small drizzle of fruit coulis. Consider serving on elegant dessert plates to elevate the experience.
Storage Tips
- Refrigeration: Crème Brûlée can be stored in the refrigerator for up to 2 days. Keep it covered with plastic wrap to prevent it from absorbing other odors.
- Maintaining the Sugar Crust: If you need to store it, wait to caramelize the sugar until just before serving. This helps maintain that satisfying crunch.
- Reheating Advice: Crème Brûlée is best enjoyed chilled. If you must reheat, do so very gently in the oven, though this may soften the sugar crust.
Frequently Asked Questions (FAQ)
Here are some common questions about the Crème Brûlée Recipe that many home cooks ask:
Is Crème Brûlée Gluten-Free?
Yes, traditional Crème Brûlée is naturally gluten-free, as it contains no flour or gluten-based ingredients.
Can You Make Crème Brûlée Without a Torch?
Absolutely! While a kitchen torch is the easiest way to caramelize the sugar, you can also use a broiler. Just be sure to watch it closely to prevent burning.
How Do I Know if My Crème Brûlée Is Done?
The custard should be set around the edges with a slight wobble in the center. A gentle shake of the ramekin will help you determine if it’s ready.
What is the Difference Between Crème Brûlée and Flan?
As discussed, Crème Brûlée has a crunchy, caramelized sugar top, whereas Flan features a soft caramel layer. The two also differ in their baking methods and cultural origins.
Can I Make Crème Brûlée in Advance?
Yes, you can prepare the custard a day ahead, chill it, and then caramelize the sugar just before serving for optimal texture and flavor.
Conclusion
In summary, this Crème Brûlée Recipe proves that simplicity and elegance can come together to create an unforgettable dessert. From its rich custard base to the delicate, crackling sugar crust, every spoonful is a celebration of culinary artistry. Not only does Crème Brûlée captivate with its classic taste, but it also offers endless possibilities for creative twists that suit any palate.
Final Thoughts
Making Crème Brûlée at home is a gratifying process that rewards you with a dessert that’s both visually stunning and delectably satisfying. Whether you stick with the traditional recipe or experiment with variations like chocolate or matcha, the secret lies in quality ingredients, careful technique, and a touch of patience. Embrace the challenges and let each attempt bring you closer to mastering this timeless dessert.
Call to Action
We’d love to hear about your experiences with this recipe. Have you tried making Crème Brûlée at home? What variations did you experiment with? Your feedback and photos are invaluable to our community. Explore our other dessert recipes for more culinary inspiration and share your results in the comments below.
Would you try this? Tell us below!

