Looking for a unique and delicious way to add creativity to your baking? This Orange Fish Cookies Recipe is a fun and flavorful treat that brings together the bright, zesty taste of oranges with the whimsical charm of fish-shaped cookies. Whether you’re making them for a sea-themed party, a family baking session, or just to try something new, these cookies are sure to be a hit!
In this guide, you’ll get a step-by-step breakdown of how to make Orange Fish Cookies Recipe from scratch. From selecting the perfect ingredients to expert tips on shaping and decorating, this tutorial ensures your cookies turn out buttery, citrusy, and perfectly shaped every time. Even if you’re a beginner, this recipe is easy to follow and offers room for customization!
So, grab your ingredients, get your cookie cutters ready, and let’s dive into making these delightful fish-shaped treats. Don’t forget to share your creations in the comments—we’d love to see how your Orange Fish Cookies turn out!
Jump to:
What Are Orange Fish Cookies?
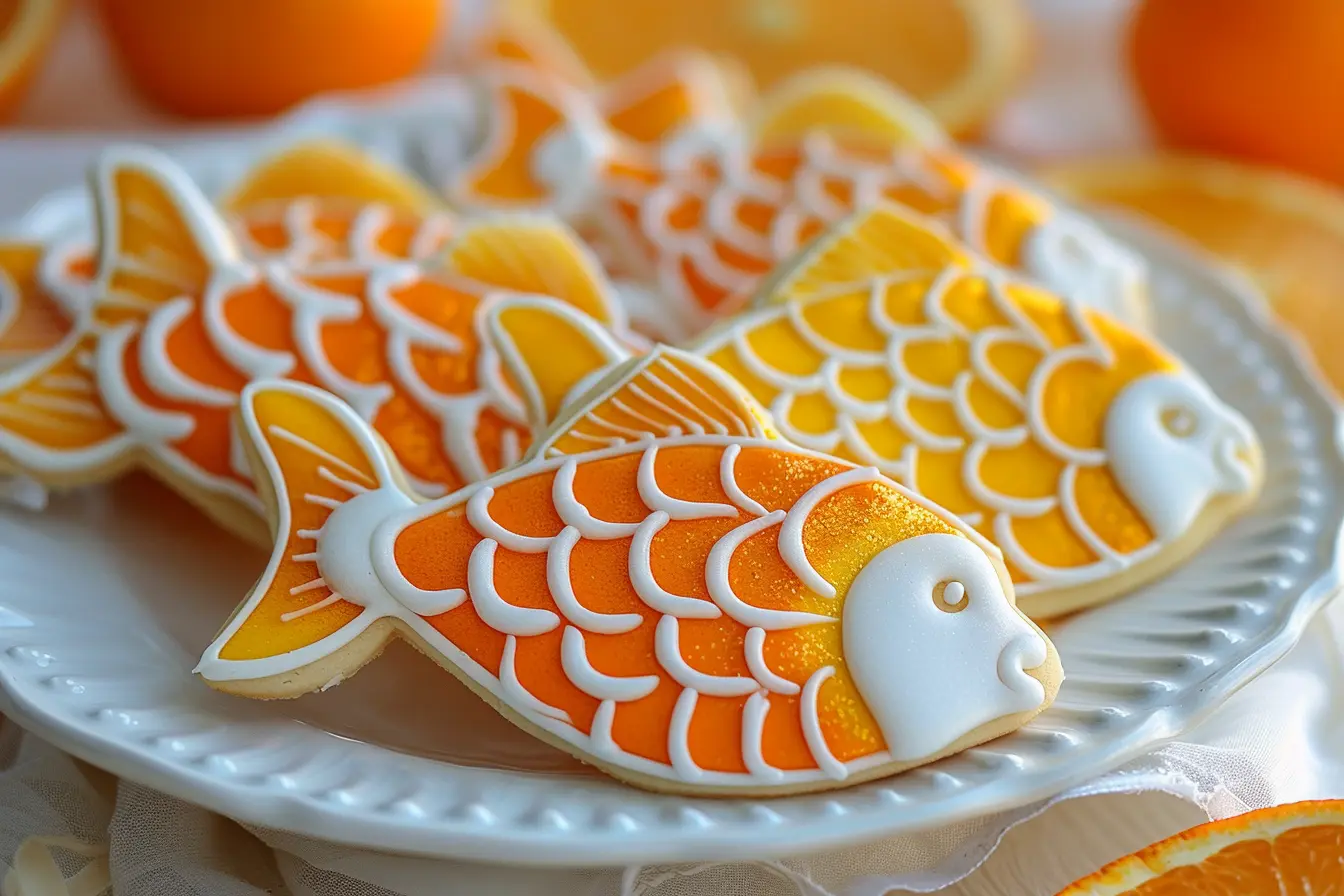
Orange Fish Cookies are a delightful fusion of flavor and creativity. At their core, they are buttery, tender cookies infused with the zesty aroma of orange and shaped like charming little fish. These cookies bring a unique twist to traditional baking by combining a playful design with a sophisticated citrus taste that appeals to both children and adults.
Ingredients for Orange Fish Cookies
Creating the perfect Orange Fish Cookies starts with gathering the right ingredients. This recipe uses simple, everyday pantry staples, combined with a few key items that bring out the citrusy flavor and visual charm of these cookies. Below is a detailed list to ensure you’re ready for baking.
| Ingredient | Quantity | Purpose |
|---|---|---|
| All-Purpose Flour | 2 ½ cups | Provides structure and texture. Can be substituted with gluten-free flour. |
| Unsalted Butter | 1 cup (softened) | Adds a rich, melt-in-your-mouth texture. |
| Granulated Sugar | ¾ cup | Balances the tangy orange flavor. |
| Egg | 1 large | Binds the dough for a smooth texture. |
| Orange Zest | Zest of 2 oranges | Enhances aroma and flavor—avoid the bitter white pith. |
| Orange Juice | 2 tablespoons | Boosts citrus flavor and helps bind ingredients. |
| Vanilla Extract | 1 teaspoon | Adds a subtle sweetness to complement the citrus notes. |
| Baking Powder | 1 teaspoon | Helps cookies puff up slightly for a light texture. |
| Salt | ¼ teaspoon | Enhances flavors and balances sweetness. |
Optional Additions & Tools
| Item | Purpose |
|---|---|
| Sprinkles or Colored Sugar | Adds a fun, decorative touch. |
| Royal Icing or Glaze | Enhances presentation with a smooth finish. |
| Mini Chocolate Chips | Perfect for creating eyes or other decorations. |
| Fish-Shaped Cookie Cutters | Essential for shaping the cookies. You can also use other sea-themed shapes. |
| Knife or Dough Scraper | Helps with shaping by hand if cutters aren’t available. |
| Baking Sheets | Ensures even baking; line with parchment paper. |
| Cooling Rack | Prevents soggy cookies by allowing air circulation. |
| Pastry Brush (Optional) | Useful for applying glaze or egg wash. |
Step-by-Step Instructions for Making Orange Fish Cookies
Now that you have all your ingredients and tools ready, it’s time to start baking! Follow these simple steps to create perfectly shaped, citrus-infused Orange Fish Cookies that are as fun to make as they are to eat.
Step 1: Prepare the Dough
Cream Butter and Sugar
In a large mixing bowl, beat the softened butter and granulated sugar using an electric mixer or a sturdy whisk until the mixture becomes light and fluffy (about 2-3 minutes on medium speed).
Incorporate Wet Ingredients
Add the egg, orange zest, freshly squeezed orange juice, and vanilla extract. Mix until fully combined, creating a smooth and fragrant dough base.
Mix Dry Ingredients
In a separate bowl, whisk together the flour, baking powder, and salt. Gradually add this dry mixture to the wet ingredients, stirring until a soft dough forms. Avoid overmixing, as it can make the cookies dense instead of tender.
Chill the Dough
Shape the dough into a ball, wrap it in plastic wrap, and refrigerate for at least 30 minutes. Chilling helps the dough firm up, making it easier to roll and shape while preventing the cookies from spreading too much during baking.
Step 2: Shape the Cookies
Preheat the Oven
Set your oven to 350°F (175°C) and line a baking sheet with parchment paper or a silicone baking mat.
Roll Out the Dough
Lightly flour your work surface and rolling pin, then roll the dough out to about ¼ inch (6 mm) thickness.
Cut Out Fish Shapes
Use fish-shaped cookie cutters to cut out the cookies. If you don’t have fish-shaped cutters, you can carefully shape them using a knife or trace a simple fish outline onto parchment paper as a guide.
Re-Roll and Use All Dough
Gather the dough scraps, re-roll them, and continue cutting until all the dough is used. Place the cookies 1 inch apart on the prepared baking sheet.
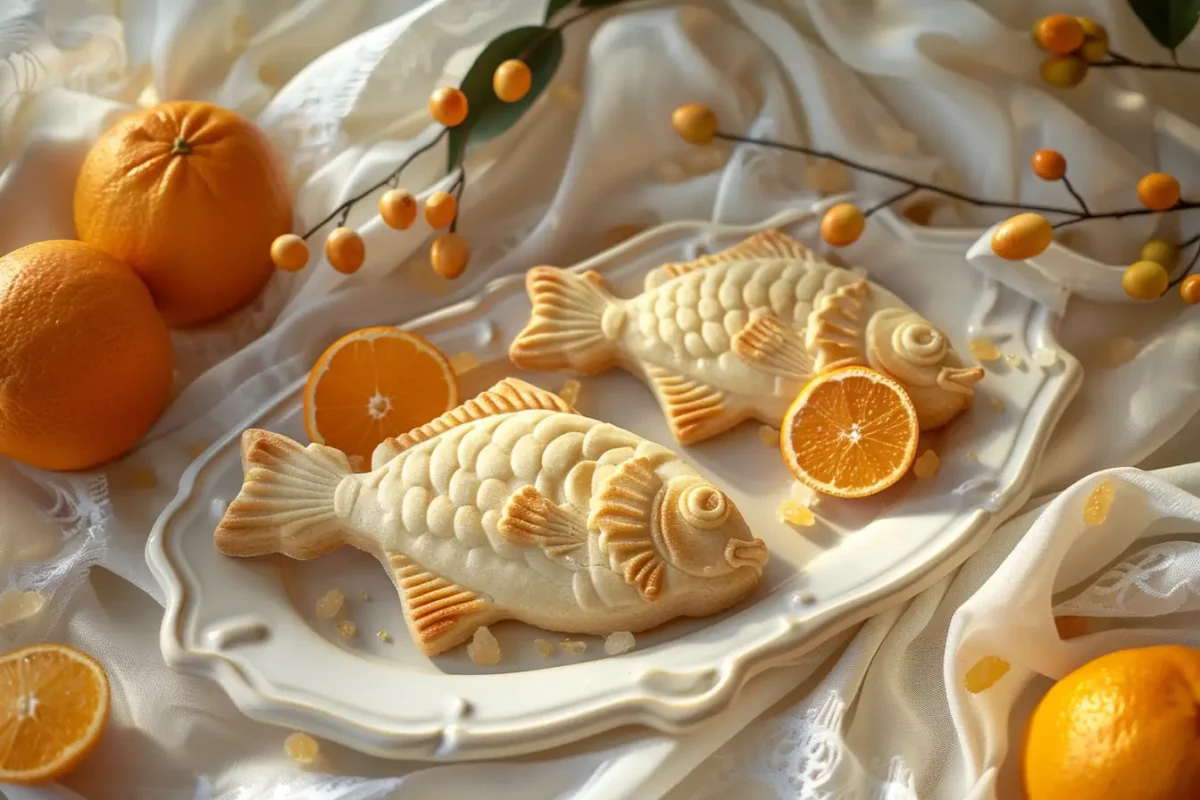
Step 3: Bake the Cookies
Bake to Perfection
Place the baking sheet in the preheated oven and bake for 8-12 minutes, or until the edges turn a light golden brown. Keep an eye on them to avoid overbaking.
Cool Completely
Remove the cookies from the oven and let them sit on the baking sheet for 2 minutes before transferring them to a wire cooling rack. Allow them to cool completely before decorating.
Step 4: Decorate the Cookies
Prepare the Decorations
If using royal icing, divide it into bowls and mix in different food coloring shades as desired.
Add Fun Details
Use piping bags with fine tips to add eyes, scales, or fins. Alternatively, sprinkle colored sugar, mini chocolate chips, or edible markers to personalize each fish cookie. Let the icing set completely before serving or storing.
If you’re a fan of delicious themed treats, be sure to check out Mama Kelce’s Cookies Recipe: NFL’s Favorite Dessert, Now Yours Too for another delightful cookie idea that’s perfect for any occasion!
Serving Suggestions for Orange Fish Cookies
Now that you have all your ingredients and tools ready, it’s time to start baking! Follow these simple steps to create perfectly shaped, citrus-infused Orange Fish Cookies that are as fun to make as they are to eat.
Step 1: Prepare the Dough
Cream Butter and Sugar
In a large mixing bowl, beat the softened butter and granulated sugar using an electric mixer or a sturdy whisk until the mixture becomes light and fluffy (about 2-3 minutes on medium speed).
Incorporate Wet Ingredients
Add the egg, orange zest, freshly squeezed orange juice, and vanilla extract. Mix until fully combined, creating a smooth and fragrant dough base.
Mix Dry Ingredients
In a separate bowl, whisk together the flour, baking powder, and salt. Gradually add this dry mixture to the wet ingredients, stirring until a soft dough forms. Avoid overmixing, as it can make the cookies dense instead of tender.
Chill the Dough
Shape the dough into a ball, wrap it in plastic wrap, and refrigerate for at least 30 minutes. Chilling helps the dough firm up, making it easier to roll and shape while preventing the cookies from spreading too much during baking.
For a refreshing twist to your morning routine, don’t miss out on these Easy Ways to Incorporate Apples into Your Morning Meal for Better Energy—perfect for a vibrant start to your day!
Step 2: Shape the Cookies
Preheat the Oven
Set your oven to 350°F (175°C) and line a baking sheet with parchment paper or a silicone baking mat.
Roll Out the Dough
Lightly flour your work surface and rolling pin, then roll the dough out to about ¼ inch (6 mm) thickness.
Cut Out Fish Shapes
Use fish-shaped cookie cutters to cut out the cookies. If you don’t have fish-shaped cutters, you can carefully shape them using a knife or trace a simple fish outline onto parchment paper as a guide.
Re-Roll and Use All Dough
Gather the dough scraps, re-roll them, and continue cutting until all the dough is used. Place the cookies 1 inch apart on the prepared baking sheet.
Step 3: Bake the Cookies
Bake to Perfection
Place the baking sheet in the preheated oven and bake for 8-12 minutes, or until the edges turn a light golden brown. Keep an eye on them to avoid overbaking.
Cool Completely
Remove the cookies from the oven and let them sit on the baking sheet for 2 minutes before transferring them to a wire cooling rack. Allow them to cool completely before decorating.
Storing Orange Fish Cookies
To maintain the freshness and flavor of your Orange Fish Cookies, proper storage is key. Whether you plan to enjoy them over several days or save them for a special occasion, these tips will ensure your cookies stay as delicious as the day you baked them.
Short-Term Storage (1-3 Days)
- Use an Airtight Container
Place the cookies in a single layer in an airtight container to keep them fresh. If stacking is necessary, separate layers with parchment paper to prevent sticking or smudging decorations. - Room Temperature Storage
Store the container in a cool, dry place away from direct sunlight or heat sources. Avoid the refrigerator, as it can cause cookies to dry out or lose their texture.
Long-Term Storage (Up to 3 Months)
- Freezing the Cookies
- Before Decorating: If you plan to freeze undecorated cookies, let them cool completely, then stack them in an airtight container with parchment paper between layers.
- After Decorating: Ensure icing or decorations are fully set before freezing. Wrap each cookie individually in plastic wrap to preserve their appearance.
- Thawing
When ready to enjoy, remove the cookies from the freezer and let them thaw at room temperature in their wrapping to prevent condensation from softening the cookies.
Storing Cookie Dough
- Refrigerating Dough
Wrap the dough tightly in plastic wrap and store it in the refrigerator for up to 3 days. Before using, let the dough sit at room temperature for 10-15 minutes to soften slightly. - Freezing Dough
Roll the dough into a log or flatten it into a disk before wrapping it tightly in plastic wrap and placing it in a freezer bag. Frozen dough can last up to 3 months. Thaw overnight in the refrigerator before rolling and cutting.
Keeping Decorations Intact
- Separate Storage for Decorated Cookies
If you’ve used fragile decorations like icing or sprinkles, store decorated cookies in a single layer or use cookie boxes with compartments. - Avoid Humidity
Humidity can cause icing to soften or colors to bleed. Use silica gel packs in your storage container to absorb excess moisture if needed.
Frequently Asked Questions
Have questions about making Orange Fish Cookies? Here are some common inquiries to help you perfect this fun and flavorful recipe!
1. How Long Do Orange Fish Cookies Stay Fresh?
- At Room Temperature: Store in an airtight container for 3-5 days.
- In the Freezer: Both baked cookies and dough can be frozen for up to 3 months. Thaw at room temperature before serving or baking.
2. Can I Make These Cookies Gluten-Free?
Yes! Substitute all-purpose flour with a gluten-free flour blend that contains a binding agent like xanthan gum. You may need to add a bit more liquid, as gluten-free flour tends to absorb more moisture.
3. What’s the Best Way to Decorate Them?
You can customize these cookies with fun decorations! Try:
- Royal Icing: Use piping bags for detailed designs.
- Sprinkles & Sugar: Add a colorful, festive touch.
- Edible Markers: Draw scales, fins, and eyes for extra detail.
Let the cookies cool completely before decorating to prevent icing from melting.
4. What If I Don’t Have a Fish-Shaped Cutter?
No problem! You can:
- Hand-cut the shapes using a knife.
- Trace a fish outline on parchment paper and cut the dough accordingly.
- Use other fun shapes like stars, hearts, or sea-themed cutters.
Conclusion:
Baking is all about creativity and enjoyment, and this Orange Fish Cookies Recipe delivers both! With their delightful citrusy flavor, soft and buttery texture, and eye-catching fish-shaped design, these cookies make a fantastic addition to any dessert table. Whether you’re preparing them for a themed celebration, a fun family activity, or just as a unique homemade treat, they are sure to impress. Best of all, this Orange Fish Cookies Recipe is simple to follow and can be customized to match your personal taste and style.
“A great recipe isn’t just about ingredients—it’s about the joy of sharing something special with others.”
Final Thoughts
What makes this Orange Fish Cookies Recipe stand out is its versatility. You can switch up the flavors, experiment with decorations, or get the whole family involved in shaping and icing the cookies. Whether you’re a beginner or an experienced baker, this recipe is an enjoyable way to bring creativity into your kitchen while making a treat that’s as fun to look at as it is to eat.
Call to Action
Have you given this Orange Fish Cookies Recipe a try? We’d love to hear about your experience! Share your results in the comments below, let us know if you made any unique variations, and don’t forget to post pictures of your beautifully decorated cookies. Happy baking!